🚀 Hello, Kubernetes! A Hands-On Guide to Deploying Your First App on GKE description
Google Kubernetes Engine (GKE) offers a powerful, managed environment for running containerized applications at scale.
In this guide, we’ll walk through the essential commands to provision a GKE cluster, deploy a simple web application, expose it to the internet, and clean up; all in less than an hour!
🛠️ Prerequisites and Setup
We’ll be using Cloud Shell for all our commands, as it comes pre-installed with the necessary tools: gcloud for managing Google Cloud resources and kubectl for interacting with the Kubernetes cluster.
Task 1: Set a Default Compute Zone
To make subsequent commands shorter, we’ll configure a default region and zone.
# Set the default compute region
gcloud config set compute/region us-east4

# Set the default compute zone (this will be where the cluster nodes live)
gcloud config set compute/zone us-east4-a
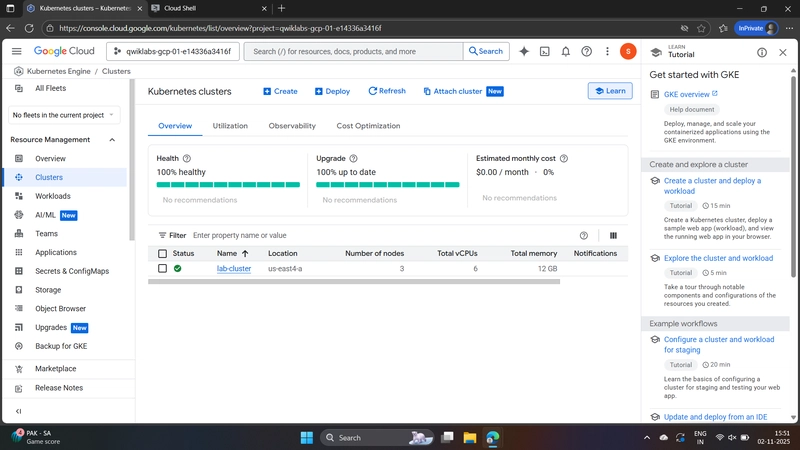
Task 2: Create a GKE Cluster
A GKE cluster is made up of a Master (control plane) and multiple Nodes (worker machines). We’ll create a cluster named lab-cluster with e2-medium nodes.
gcloud container clusters create /
--machine-type=e2-medium /
--zone=us-east4-a lab-cluster
Note: This command can take several minutes to complete as Google Cloud provisions the necessary Compute Engine instances and sets up the Kubernetes control plane.
Once complete, you can view the cluster in the Google Cloud Console:
Task 3: Get Authentication Credentials
Before using kubectl, we need to get the credentials to connect to our new cluster securely. This command updates your kubeconfig file.
gcloud container clusters get-credentials lab-cluster
Expected Output:
kubeconfig entry generated for lab-cluster.
🚀 Deploying and Exposing the Application
With the cluster running and authenticated, we can now deploy our containerized application. We’ll use the sample hello-app image provided by Google.
Task 4.1: Deploy the Container (Deployment)
A Kubernetes Deployment manages stateless applications, ensuring the specified number of replicas are running.
kubectl create deployment hello-server /
--image=gcr.io/google-samples/hello-app:1.0
Expected Output:
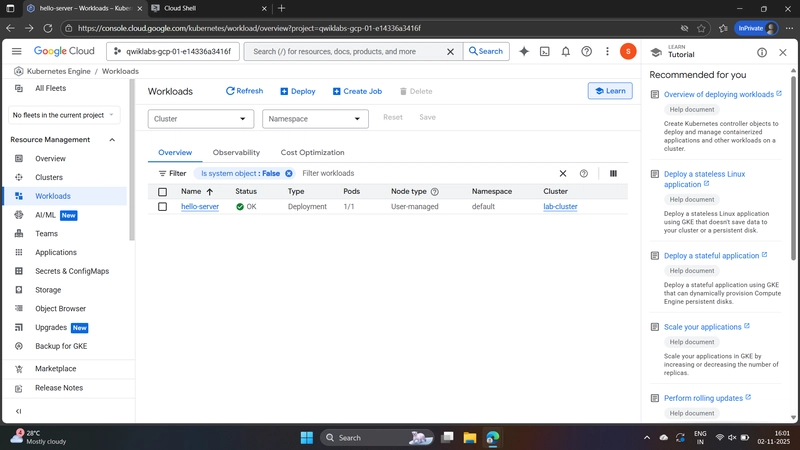
deployment.apps/hello-server created
After a moment, you can confirm the Deployment status in the GUI:
Task 4.2: Create a Kubernetes Service (Load Balancer)
To access the application from the public internet, we need to create a Kubernetes Service. By setting the type to LoadBalancer, GKE automatically provisions a Google Cloud Load Balancer for us.
kubectl expose deployment hello-server --type=LoadBalancer --port 8080
Expected Output:
service/hello-server exposed
4.3: Get the External IP and View the App
The LoadBalancer takes a minute or two to provision an external IP. Run the following command until the EXTERNAL-IP field is no longer <pending>.
kubectl get service
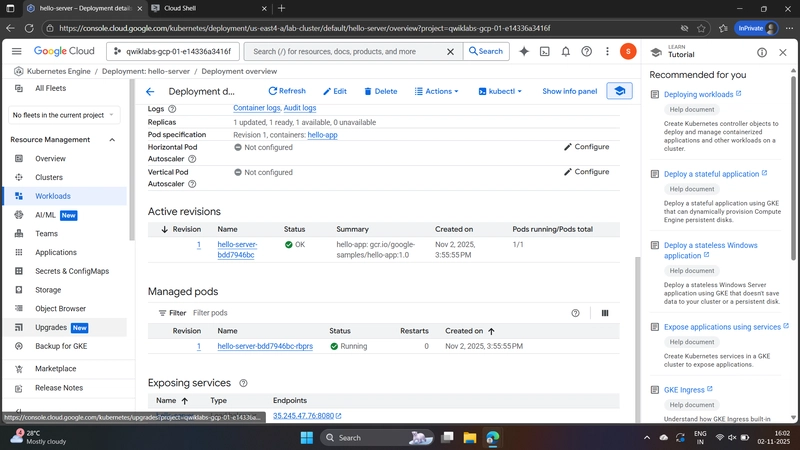
In the Deployment details screen, you can see the service exposing the endpoint:
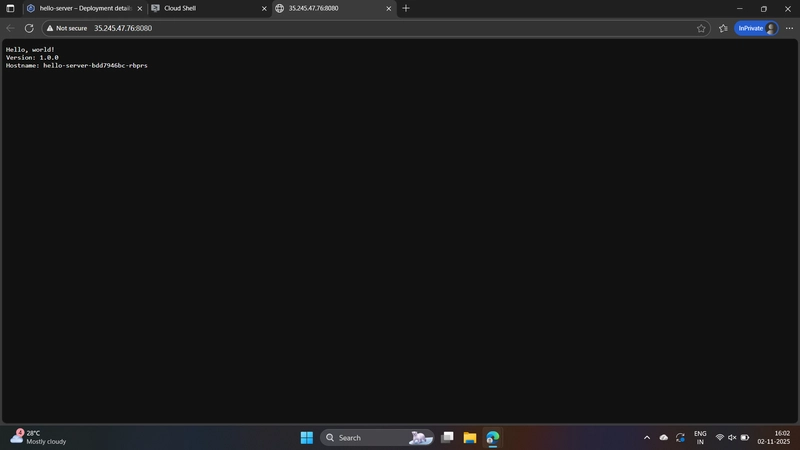
Once the IP is visible (e.g., 35.245.47.76), open your web browser and navigate to: http://[EXTERNAL-IP]:8080
You should see the successful output:
🧹 Task 5: Delete the Cluster
A key part of cloud computing is cleanup to avoid unnecessary costs. Deleting the cluster removes all associated resources, including the nodes, Pods, Deployments, and the Load Balancer Service.
gcloud container clusters delete lab-cluster
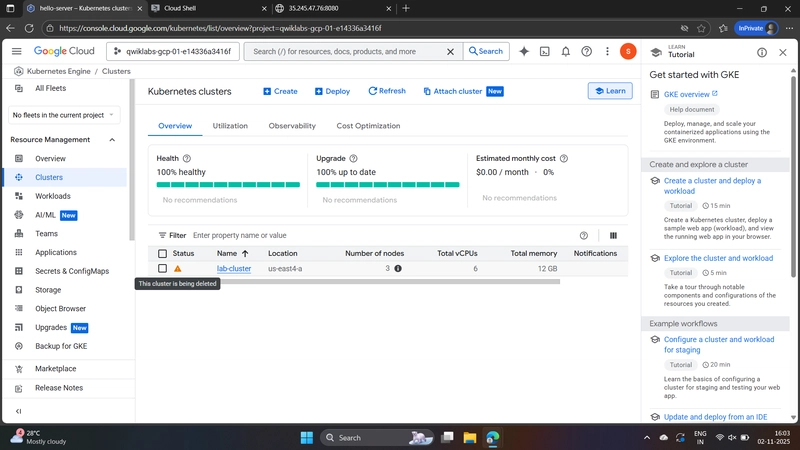
When prompted, type Y to confirm.
The console will show that the cluster is being deleted:
Congratulations! You’ve successfully created, deployed to, and cleaned up a Google Kubernetes Engine cluster.

