The ESP32: A Complete Guide to Installation, Setup, and Real-World Projects
If you’re diving into the world of Internet of Things (IoT) or embedded systems, the ESP32 is one of the best tools you can start with. It’s powerful, versatile, and cost-effective, making it a favorite among both beginners and advanced developers. In this guide, we’ll walk you through everything from setting up your ESP32 with the Arduino IDE to building a practical project that connects your ESP32 to a router. We’ll also share where to find more projects if you’re eager to keep building.
What Is the ESP32?
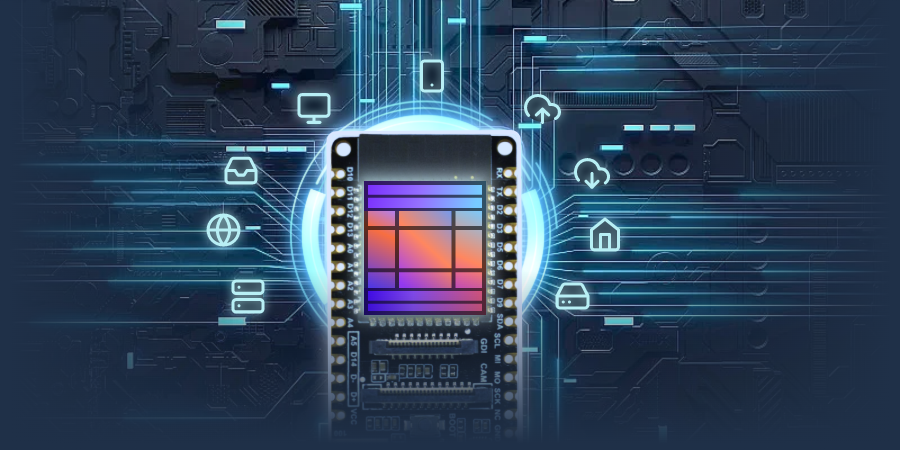
The ESP32 is a low-cost, low-power system on a chip (SoC) developed by Espressif Systems. It features:
- Dual-core Tensilica Xtensa LX6 microprocessor
- Integrated Wi-Fi and Bluetooth
- Up to 520 KB of SRAM
- Up to 16 MB of external flash
- Numerous I/O ports and communication protocols
- Support for advanced power management features
Why Choose ESP32?
- Integrated Wi-Fi and Bluetooth: No need for external modules.
- Powerful Performance: Capable of handling complex tasks.
- Low Power Consumption: Perfect for battery-powered applications.
- Cost-Effective: High performance at a low price.
- Open Source Support: Backed by a strong developer community.
Installing ESP32 on Arduino IDE
Step-by-Step Installation:
- Install Arduino IDE
- Download from: https://www.arduino.cc/en/software
- Add ESP32 Board Manager URL
- Open Arduino IDE
- Go to File > Preferences
- Add this URL to the Additional Board Manager URLs:
https://raw.githubusercontent.com/espressif/arduino-esp32/gh-pages/package_esp32_index.json
- Install ESP32 Boards
- Go to Tools > Board > Boards Manager
- Search for “ESP32”
- Install “esp32 by Espressif Systems”
- Select ESP32 Board
- Go to Tools > Board and select “ESP32 Dev Module” or your specific board
- Install Drivers (if needed)
- For CP210x USB: https://www.silabs.com/developers/usb-to-uart-bridge-vcp-drivers
- For CH340: https://sparks.gogo.co.nz/ch340.html
- Connect Your Board
- Use a USB cable to connect your ESP32
- Select the correct COM port under Tools > Port
First Program: Blinking an LED
void setup() {
  pinMode(2, OUTPUT);
}

void loop() {
  digitalWrite(2, HIGH);
  delay(1000);
  digitalWrite(2, LOW);
  delay(1000);
}
This simple sketch will blink the onboard LED.
ESP32 + Router Project: Web Server to Control an LED
Now let’s build a project that connects your ESP32 to a WiFi router and hosts a web server to control an LED remotely.
Code Example:
#include <WiFi.h>

const char* ssid = "YOUR_SSID";
const char* password = "YOUR_PASSWORD";

WiFiServer server(80);

void setup() {
  Serial.begin(115200);
  pinMode(2, OUTPUT);

  WiFi.begin(ssid, password);

  while (WiFi.status() != WL_CONNECTED) {
    delay(1000);
    Serial.println("Connecting to WiFi...");
  }

  Serial.println("Connected to WiFi");
  Serial.println(WiFi.localIP());

  server.begin();
}

void loop() {
  WiFiClient client = server.available();
  if (client) {
    String currentLine = "";
    while (client.connected()) {
      if (client.available()) {
        char c = client.read();
        currentLine += c;

        if (c == '\n') {
          if (currentLine.length() == 1) {
            client.println("HTTP/1.1 200 OK");
            client.println("Content-type:text/html");
            client.println();
            client.println("<html><body><h1>ESP32 Web Server</h1>");
            client.println("<a href=\"/ON\">Turn LED ON</a><br>");
            client.println("<a href=\"/OFF\">Turn LED OFF</a>");
            client.println("</body></html>");
            client.println();
            break;
          } else {
            if (currentLine.indexOf("GET /ON") >= 0) {
              digitalWrite(2, HIGH);
            }
            if (currentLine.indexOf("GET /OFF") >= 0) {
              digitalWrite(2, LOW);
            }
            currentLine = "";
          }
        }
      }
    }
    client.stop();
  }
}
Replace YOUR_SSID and YOUR_PASSWORD with your router credentials. Open the Serial Monitor to find your ESP32’s IP address and access it from your browser.
Common ESP32 Issues and Fixes
- Board Not Detected: Install the right USB drivers.
- Upload Error: Hold the BOOT button when uploading.
- Wi-Fi Issues: Make sure your router is 2.4GHz.
- Random Crashes: Check your power supply.
Explore More ESP32 Projects
If you’re ready to go beyond the basics, check out a wide variety of ESP32 projects on my GitHub:
🔗 https://github.com/adilsadqi
There you’ll find:
- Home automation
- IoT dashboards
- Smart sensors
- Weather stations
- And more…
Conclusion
The ESP32 offers incredible power and flexibility for all types of embedded projects. From blinking an LED to creating web-based interfaces, it’s the perfect board to bring your electronics projects to life. Whether you’re just starting or scaling to complex builds, the ESP32 is up to the task.
Stay connected for more tutorials, and don’t forget to explore all the amazing projects on GitHub!