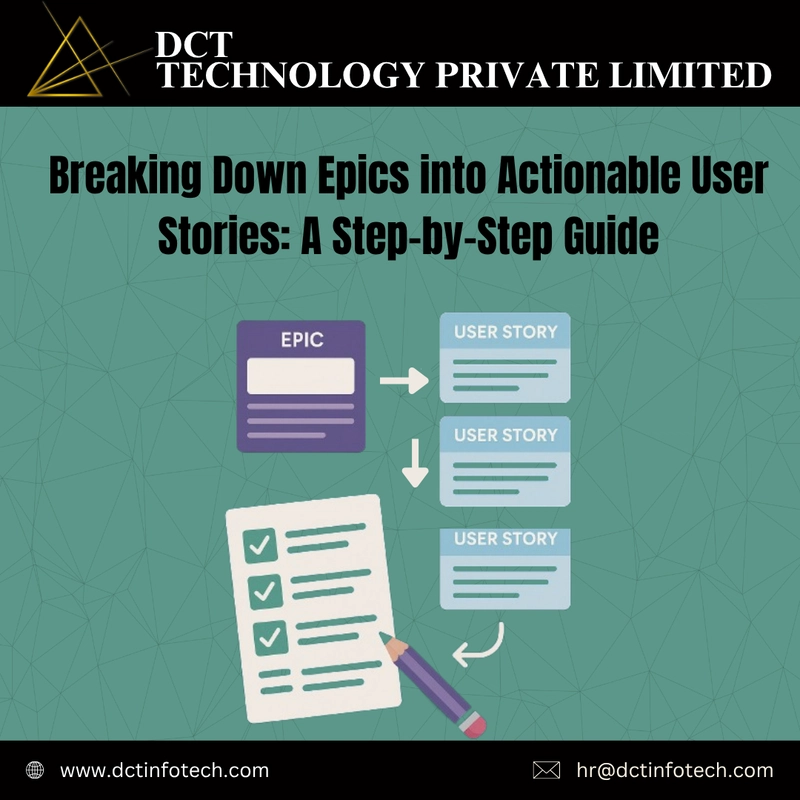
Breaking Down Epics into Actionable User Stories: A Step-by-Step Guide
You’ve got a massive feature idea. It’s exciting. It’s visionary. But it’s also… overwhelming.
“Where do I start?”
“How do I plan this with my team?”
“Why does everything feel stuck during sprints?”
If you’ve ever faced this, you’re not alone.
The truth is: most teams fail not because of bad ideas — but because of poor breakdowns.
Let’s fix that.
Here’s a step-by-step breakdown of how to turn chaotic epics into crystal-clear user stories that are easy to estimate, assign, and deliver — without burnout or confusion.
🧠 First, What’s an Epic Really?
An epic is just a large feature or requirement that’s too big to be completed in a single sprint.
For example:
“Build user authentication system” — sounds reasonable, but that’s actually an epic.
Why? Because it includes:
- Sign up
- Login
- Forgot password
- OAuth integrations (Google, GitHub, etc.)
- Email verification
Trying to tackle all of that as one ticket? Welcome to chaos. 👇
🪓 Step 1: Understand the “Why” Before the “What”
Start by answering:
- Who is this for?
- What’s the user trying to achieve?
- What value does this deliver?
✅ Great tip: Before jumping into tasks, write down the user goal in plain language.
It keeps the whole team aligned with purpose.
🔍 Step 2: Identify the Core Workflow
Let’s say the epic is:
“Implement user onboarding”
Break it down into the actual journey a user goes through:
- Visit the signup page
- Fill out details
- Email verification
- First-time dashboard experience
- Walkthrough or tips
Boom — you’ve got potential user stories right there.
✍️ Step 3: Follow the “INVEST” Rule for Good User Stories
Every story should be:
- Independent
- Negotiable
- Valuable
- Estimable
- Small
- Testable
Example story:
As a new user,
I want to verify my email address,
So that I can access the dashboard securely.
✅ Want a solid deep dive into writing good user stories?
Check this guide by Atlassian:
👉 How to write user stories
🪛 Step 4: Add Acceptance Criteria (Clear = Done)
This part is gold. Every user story should include:
- What does “done” look like?
- What edge cases are covered?
Example:
✅ Acceptance Criteria:
- Email verification link is sent within 1 minute
- Link expires after 24 hours
- Clicking expired link shows an error
It removes guesswork and prevents the dreaded “But I thought it was done…” debates.
🔄 Step 5: Prioritize Like a Pro (Don’t Do Everything at Once)
Use MoSCoW or Impact vs. Effort matrix to filter what matters most:
- Must-haves: Essential for launch
- Should-haves: Valuable but not critical
- Could-haves: Nice-to-haves
- Won’t-haves: For now
🧩 Step 6: Map It All in a Story Map
Lay out stories as a visual journey from left to right (like a user would experience it).
Use tools like:
You can group related stories under themes. It’s a game-changer for sprint planning.
💡 Bonus: When to Refactor Epics?
Refactor your epics:
- When team struggles to estimate
- When velocity drops
- When scope creep hits
- When dependencies keep delaying progress
Think of epic breakdowns like clean code — the clearer it is, the faster you move.
✅ TL;DR: Breaking Down an Epic
Here’s your cheat sheet:
1. Clarify user goals
2. Map the workflow
3. Create user stories using INVEST
4. Add acceptance criteria
5. Prioritize with MoSCoW
6. Visualize with story mapping tools
And always remember: Done > Perfect.
Start small, stay focused, and iterate fast.
If you’re building products, designing systems, or leading teams —
mastering epics and user stories isn’t optional — it’s the superpower. ⚡
🧠 Want more posts like this?
Follow [DCT Technology] for weekly insights on:
- Web dev best practices
- UI/UX strategy
- System design tips
- Agile workflows
- SEO, cloud, and more
Let’s build smarter, together. 🚀
#agile #userstories #epics #webdevelopment #scrum #productivity #projectmanagement #devtips #systemdesign #developers #uxdesign #techwriting #dcttechnology

