To-do App with React Native: What I Built & What I Learned
Table of Contents
- Overview
-
About the Project
- Goals
- Tools & Stack
- Features
- Links & Demo
-
What I learned
- React Native Components
- Styling in React Native
- State Management
- Fonts
- Animations & Gestures
- Challenges
- Final Thoughts
Overview
For my first dive into React Native development, I tackled a Frontend Mentor challenge to build a fully-featured to-do app.
This project was my first foray into the world of React Native & Expo, and is the first project in my 60-day React Native challenge.
About the Project
Goals
- Build my first React Native cross-platform mobile app
- Learn styling in React Native & writing CSS-in-JS
- Master fundamentals of mobile UI patterns
- Implement animations and interactive gestures
Tools & Stack
- React Native + Expo
- React Native
AnimatedAPI - React Native
Reanimatedlibrary - TypeScript
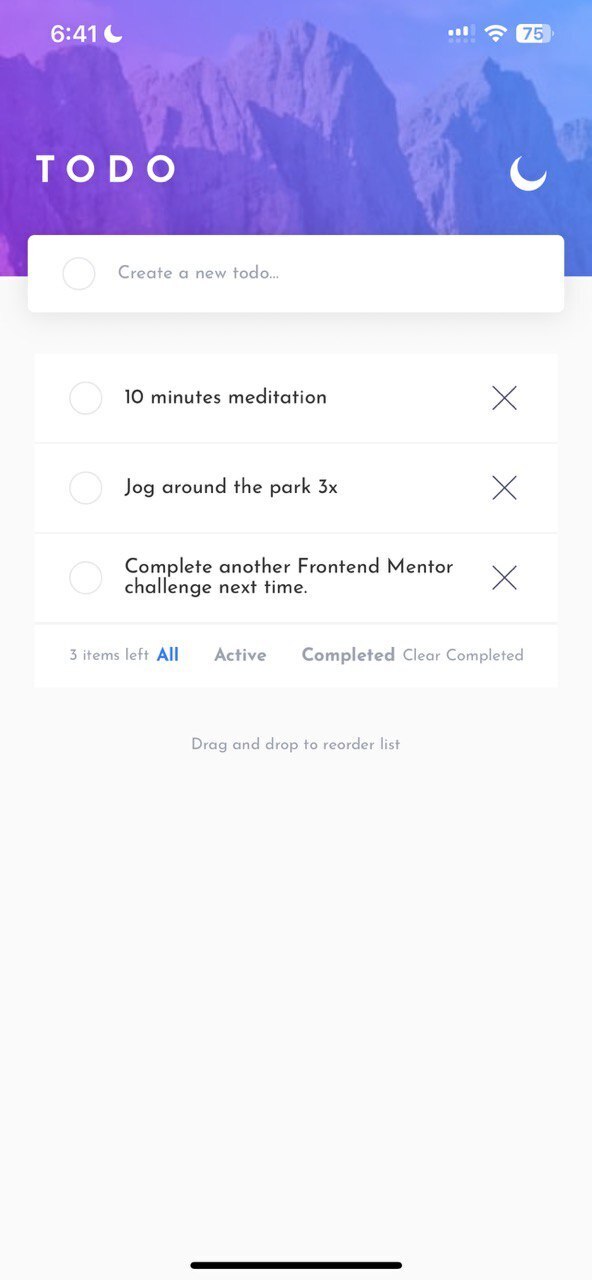
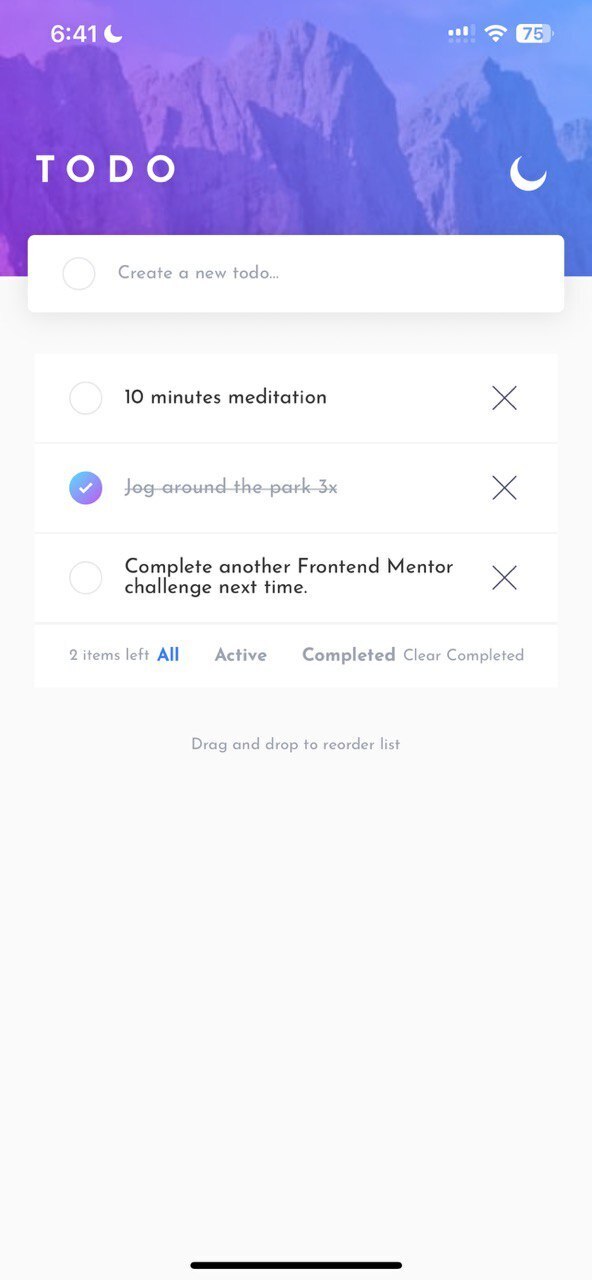
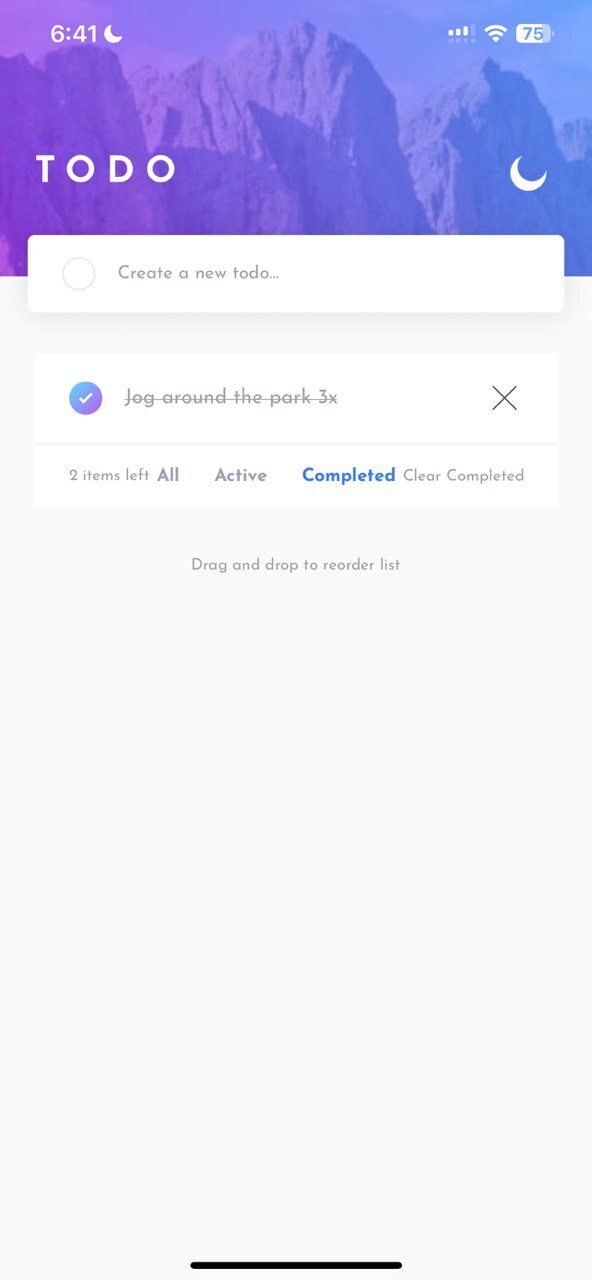
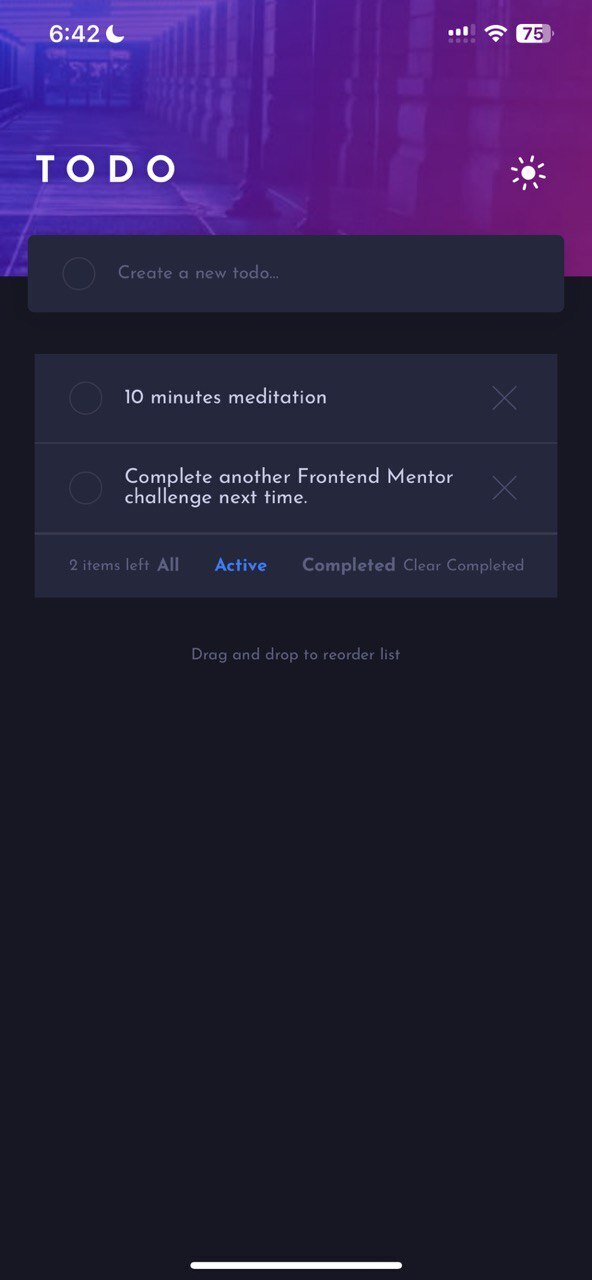
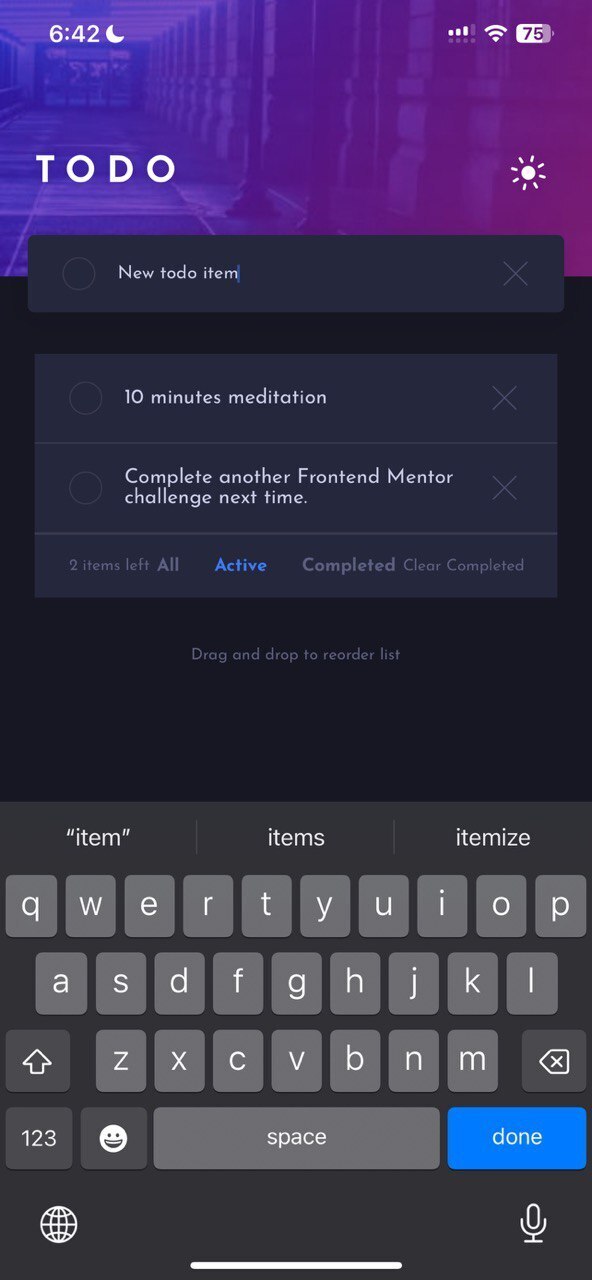
Features
This is a simple to-do app with all the basic functionality, as well as a few advanced interactions. Users can:
- Add tasks
- Mark tasks as complete
- Delete tasks
- Filter tasks: view all, active or completed tasks
- Clear all completed tasks in one click
- Switch app between light & dark themes
- Drag & drop to reorder items
Links & Demo
You can find the app here:
Some snippets:

What I learned
React Native Components
Components are the essential building blocks of React Native apps.
They are analogous to other common elements used in web, Android and iOS app development.
In this project I dealt directly with the following:
ViewTextButtonImageTextInputTouchableOpacityScrollViewFlatList
Coming from a web development background, it was very interesting to draw the following parallels:
| React Native Component | Web Equivalent | Description |
|---|---|---|
<View> |
non-scrollable <div>
|
A simple box that accepts layout, styling, user controls and accessibility controls, representing its children (however, does not scroll) |
<Text> |
<p>, <span>
|
Used for displaying strings of text |
<Button> |
<button> |
A basic button with native styling (hence it looks different on web vs iOS) |
<Image> |
<img> |
An element that displays most types of pictures / images |
<TextInput> |
<input type="text"> |
An input item that takes text |
<TouchableOpacity> |
<button> |
A more customizable button with native touch feedback & accessibility that can nest other content like images |
<ScrollView> |
<div> |
A simple scrollable box that accepts layout, styling, user controls and accessibility controls, representing its children and rendering all its items at once |
<FlatList> |
<li> |
A list, with lazy rendering for large datasets. |
Styling in React Native – Stylesheet.create()
React Native styling felt familiar. Here, CSS must be written in a JavaScript Object that is then passed into the Stylesheet.create() function. Then when any new element is created, the specific style(s) that apply are called in its style attribute. For example:
const styles = Stylesheet.create({
    container1: {
        backgroundColor: #d34a76,
        width: 100,
    },
    container2: {
        backgroundColor: #c23ad4,
        width: 200,
        fontSize: 20,
        color: #38005d,
    }
});

const TestApp = () => {
    return (
        <View style={styles.container1}>
            Hi, I am Container 1.
        </View>
        <View style={styles.container2}>
            Hi, I am Container 2.
        </View>
    );
}

export default TestApp;
Some key differences from web CSS:
- Flexbox by default: Every View uses flexbox layout
-
Column-first: Default
flexDirectioniscolumn, this makes sense for mobile apps. - No cascading: Styles are scoped to components
State Management with React useState
State Management is used to handle data within a component that is expected to change over time – it is like storage, but for React components.
Managing many parts of my todo list required careful consideration and handling of data flow. useState was used to manage the app theme and filter the todo list, while useMemo minimized unnecessary rerenders when filtering large lists.
Using custom fonts
In an Expo project, there are two ways to import and use custom fonts other than the native font or Expo-provided fonts:
- Add the font assets to your project and import them, or
-
Use the
expo-google-fontslibrary – for example, my app uses Josefin Sans, so I installedexpo-google-fonts/josefin-sans. -
Using linear gradients in Expo
-
Creating animations in React Native
Animations & Gestures
I implemented two animation systems:
- React Native Animated API for simple animations:
const fadeAnim = useRef(new Animated.Value(0)).current;

Animated.timing(fadeAnim, {
  toValue: 1,
  duration: 300,
  useNativeDriver: true,
}).start();
- React Native Reanimated library for hold-drag-and-drop gestures
Challenges Faced
-
Integrating SVG Assets:
All of my icon assets were in SVG format, but React Native doesn’t support SVGs out of the box. I had to:- Install
react-native-svgandreact-native-svg-transformer - Configure Metro bundler to handle SVG files:
config.transformer.babelTransformerPath = require.resolve('react-native-svg-transformer'); config.resolver.assetExts = config.resolver.assetExts.filter(ext => ext !== 'svg'); config.resolver.sourceExts.push('svg');- Import SVGs as React components:
import CrossIcon from '../assets/images/icon-cross.svg'; - Install
-
iOS compatibility issues:
I learned to always specify
flexorheightproperties for consistent cross-platform rendering. -
Animations:
Making an intuitive drag & drop gesture required that I do:- Gesture detection: I had to use a long-press to activate it to avoid interfering with the scrolling behavior.
- Position calculations: I had to detect where exactly the dragged item was being placed and do a little math to make sure that it was dropped at the right position.
- Spring motion: I included a small spring motion in order to make it more intuitive – something being picked up should appear to lift up and away from the list (closer to the user).
Final Thoughts
It was fun to experience building mobile apps for the first time.
React Native is very similar to React. The component-based architecture, hooks, and state management patterns all translate directly from my web development experience to mobile development.
Flexbox-by-default and the component system make building responsive mobile UIs more straightforward than I expected.
The animation APIs also opened my eyes to new possibilities for creating engaging, visually appealing and intuitive UXs that improve the “mobile app” feel. There’s definitely more to learn before I move on to more complex gestures.
I look forward to more complex projects and making future apps more accessible.
This project is part of my summer side quest. You can follow me on X & GitHub to keep up with the full challenge.